Zapier integration documentation
How to setup Zapier workflows using Goava Discover
To get started building your Zap you can start from here: https://zapier.com/apps/goava-discover/integrations
You can also use our public invite to use the latest version of our Zapier app https://zapier.com/developer/public-invite/108639/32d37e5e96f658f684f9c312b10f1bdc/.
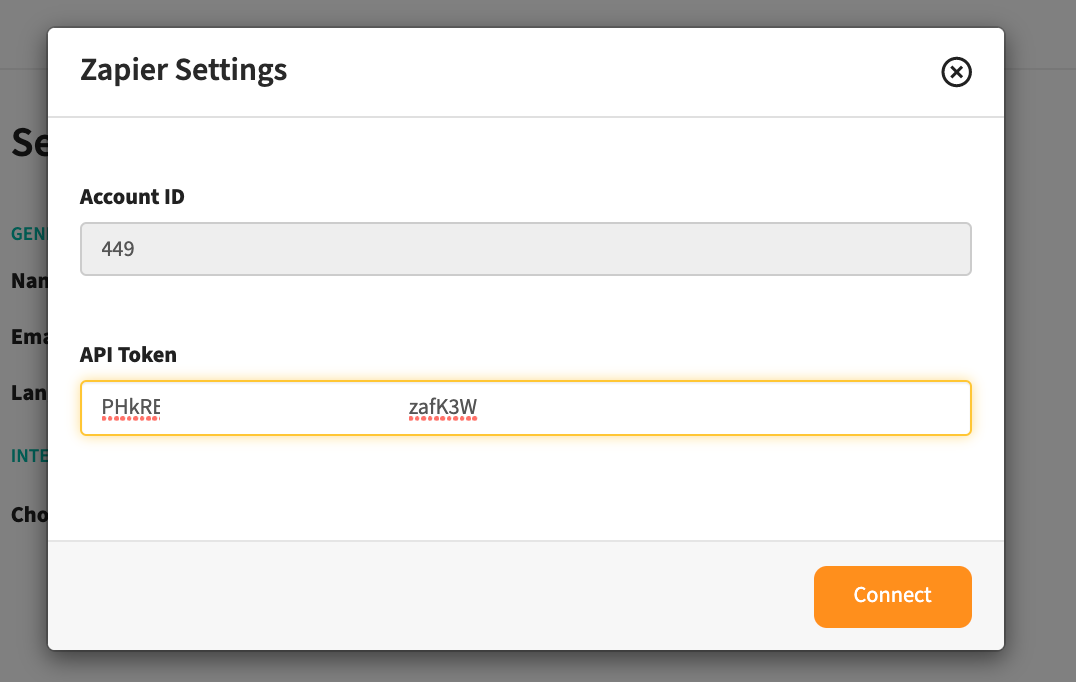
Then go to your settings in Goava and select Zapier from the integration dropdown and click Get configurations. Then you'll see a box like the one below showing your account ID and an API token, copy the API token (you'll need this again soon), and then click Connect.

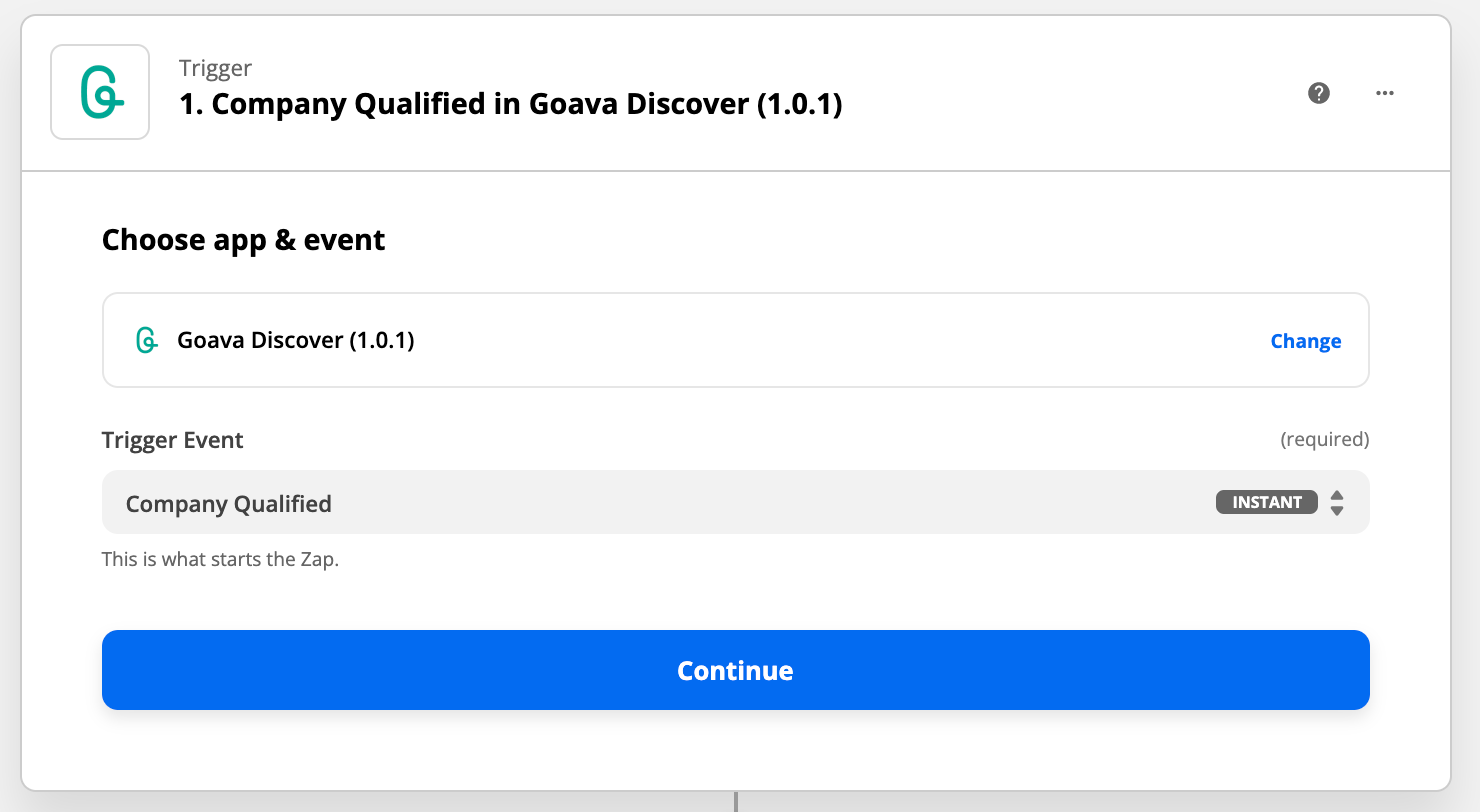
Now let's start creating your Zap! We'll guide you through how to set up a zap that Exports from Goava to whichever system you want to connect it with. Create a new Zap in Zapier and select Company Qualified as your Trigger event.

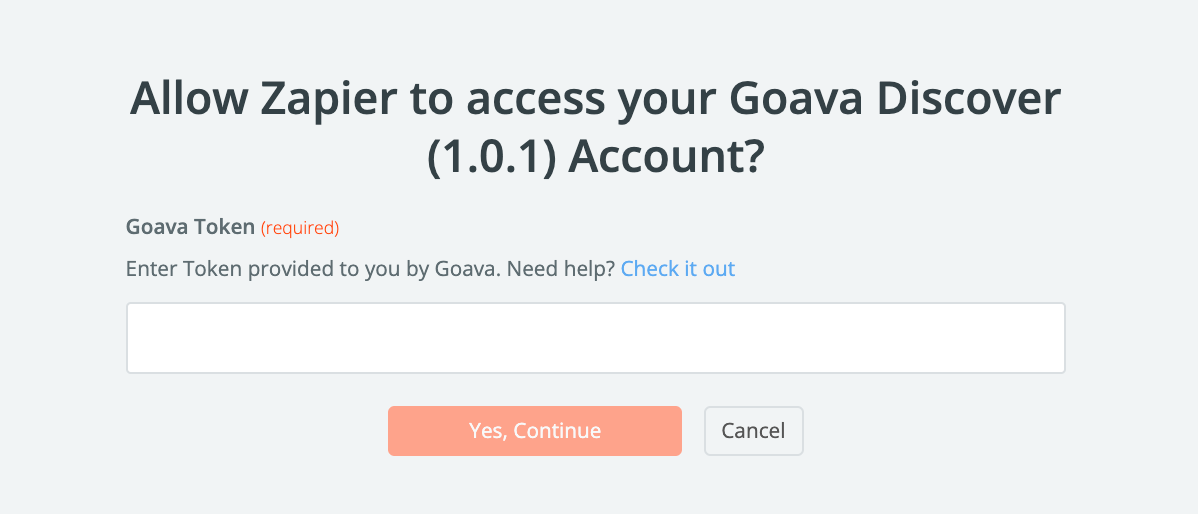
Then add a new Goava Account and enter the API token that you copied earlier here. If you have lost your API token or want to reconnect your Goava account you can always generate a new API token by going to your settings in Goava, disconnecting from Zapier, and then connecting again and it will generate a new token.

Then test the trigger pull a sample from Goava. You'll then get a sample company data set that you can then use for mapping.
The next step, add an Action. This is where you select your CRM or whatever system you want to connect it to. Typically the action you want here is either Create a company or Find/create record. Find/create record gives your more control of duplicates by first searching if a record already exists and then creating a new one only it doesn't exist, however, this is not available in all apps.
If you need any more help setting up your Zaps, please contact your CSM or write to us in the chat.